A well-maintained and clean projector will provide the users with a sharper picture & last significantly longer. Over time, dirt and dust can start building up in different places inside and on your projector of yours, which can impact its functionality of it negatively.
It is important to clean the best projector for home to make sure that the device does not get damaged & that it works smoothly each time you turn on the power of it. Every part of the projector will need a different method of cleaning. Here we have put down some steps to help you clean a projector the perfect way.
Step 1
Before you start cleaning any portion of the projector, make sure that the device is turned off & then let that cool down for a minimum of 30 minutes. Then make it unplugged from the source of power. It will help ensure that you do not damage any components of the projector.
Step 2
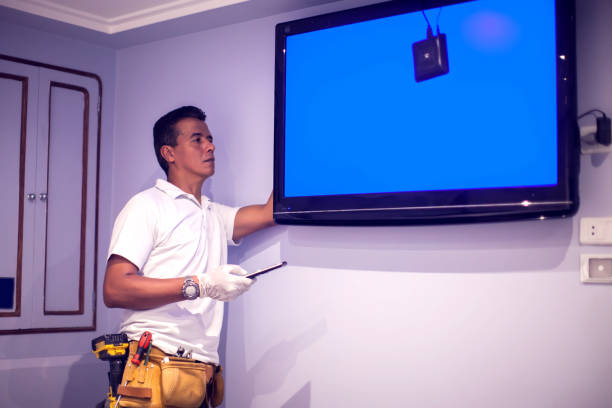
While it may be very annoying to realign your projector after you have cleaned it, it will be significantly more difficult if you have to clean the projector while it is mounted right above your head of yours. If you try to make it clean while standing on a ladder, you may fall & hurt yourself.
Be extra careful if you decide upon cleaning the projector while it is still mounted. Also, be careful not to jostle your projector. Even a little bump can knock the projector out of alignment.
Cleaning of the projector’s body
Step 3
Wipe down the projector’s exterior with a dry, soft, and lint-free cloth that is capable of attracting dust.
Step 4
Simply take one damp cloth &wipe down the outer portion of the projector. Then follow that up with one dry paper towel for removing excess moisture (if any) on the casing. You can even use mild soaps if needed. Do not use any kind of abrasive surface as the surface can scratch the chassis of the projector.
Cleaning of the intake vents and air filter of the projector
Step 5
Use a tiny vacuum cleaner that is designed specifically for office equipment or computers. It is advised not to use fully powered vacuum cleaners that are used on carpets.
It is recommended for users avoid using compressed air on their projector’s filters and vents. Compressed air may blow more dust into your projector & also leave a residue that can clog its filters of it.
Step 6
If you still see debris and dust on the projector’s intake vents, try to use a lint-free cloth or a dry duster which can attract dust like one Swiffer duster. Then, wipe the vents gently with extra care & try not to knock more dust into the projector. Do not push the cloth too far into your projector as it can damage components that are inside the device.
Step 7
If the projector has got one removable air filter, you can take that out of the device & use a small vacuum for cleaning it. You can even try using soft lens brushes or blowers for cleaning the filter. Do not use any damp cloth for cleaning it as it can attract more dust. Also, if the filter gets broken or you find that the dirt is very difficult to remove, replace the filter.
Step 8
Use a blower for the projector lens to remove any residue and dust. Do not use your breath as it can increase the condensation on the projector lens. Do not use compressed air because it can blow particles of dust into your projector or leave remnants on its lens of it.
Step 9
Use a lens brush to dust away the particles if you see the blower Is not enough. These brushes are generally extra soft which will not scratch the glass. Also, do not touch that brush with the hands as oils can get to the brush which can harm the lens.
Step 10
You can also try using a camera lens cleanser for cleaning the lens of the projector. Most of these solutions are alcohol-based and they help avoid leaving any streaks.

I’m Steven Berry and I’m the proud owner of an electronics store. With years of experience in the industry, I’m passionate about providing top-quality projectors to customers who want to take their entertainment or business presentations to the next level. Browse my store and let me help you find the perfect projector for your needs.